 |
|
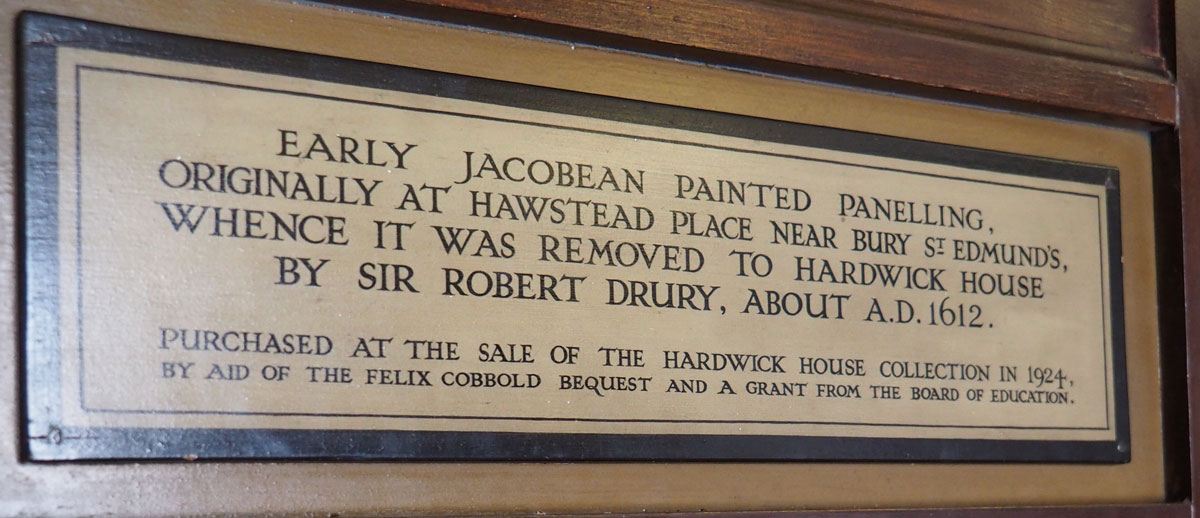
Christchurch Mansion Museum sign
|
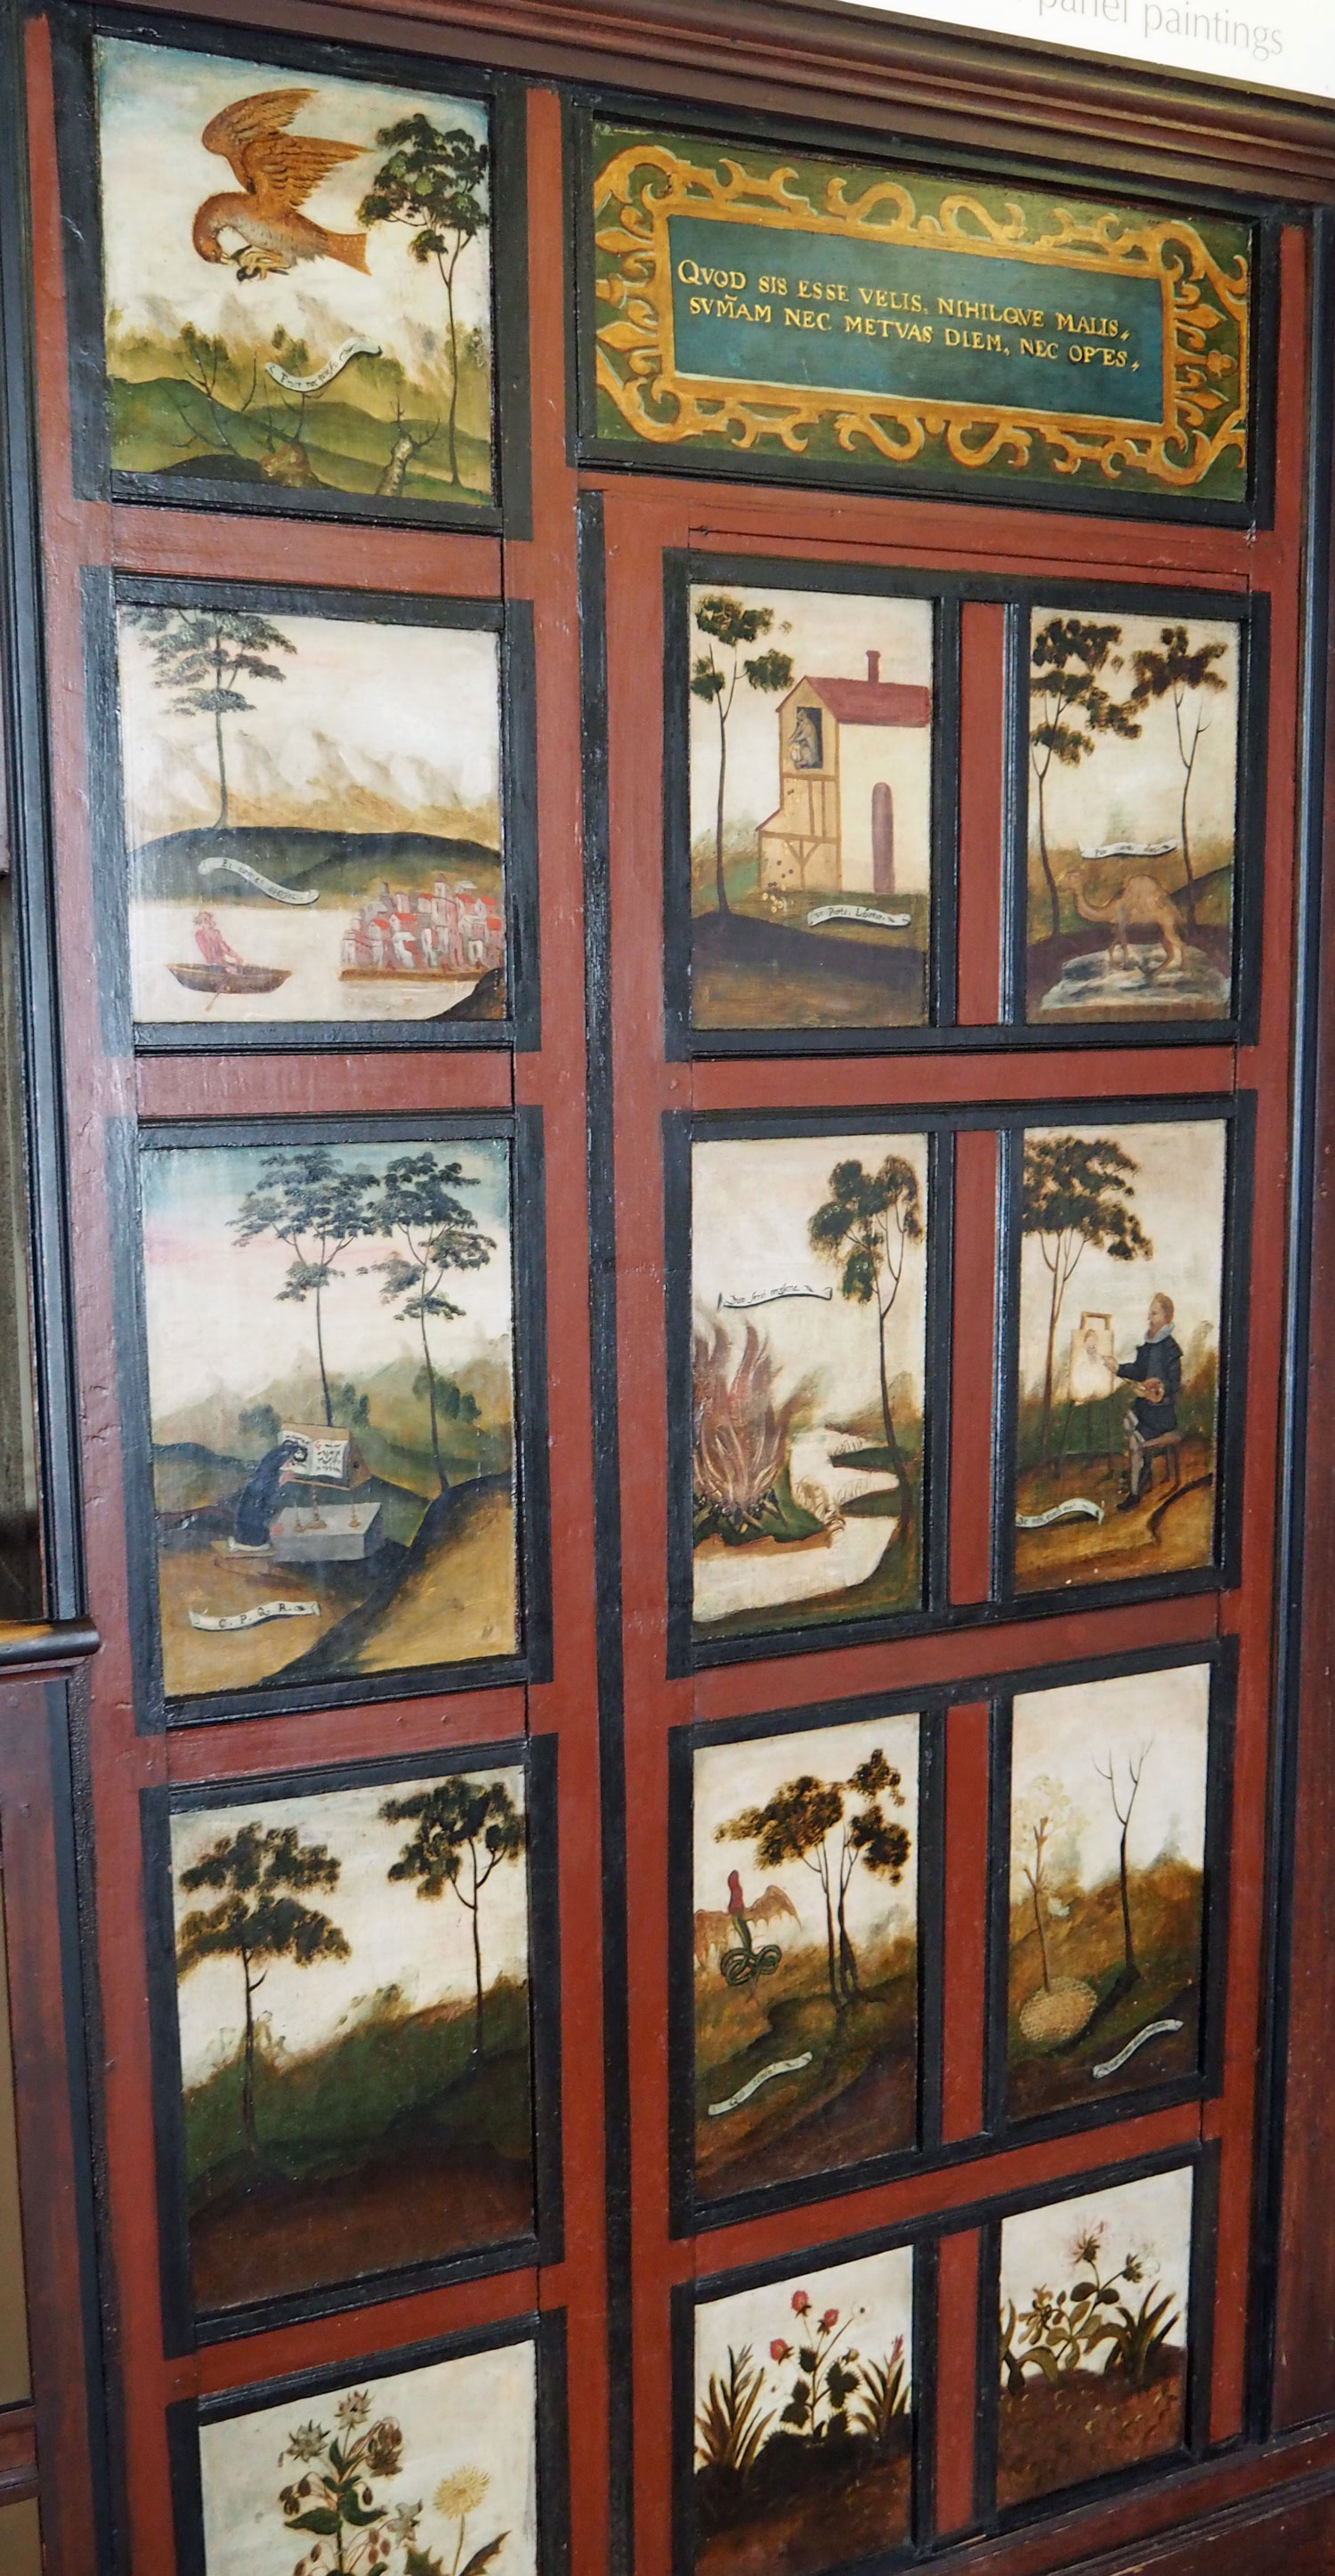
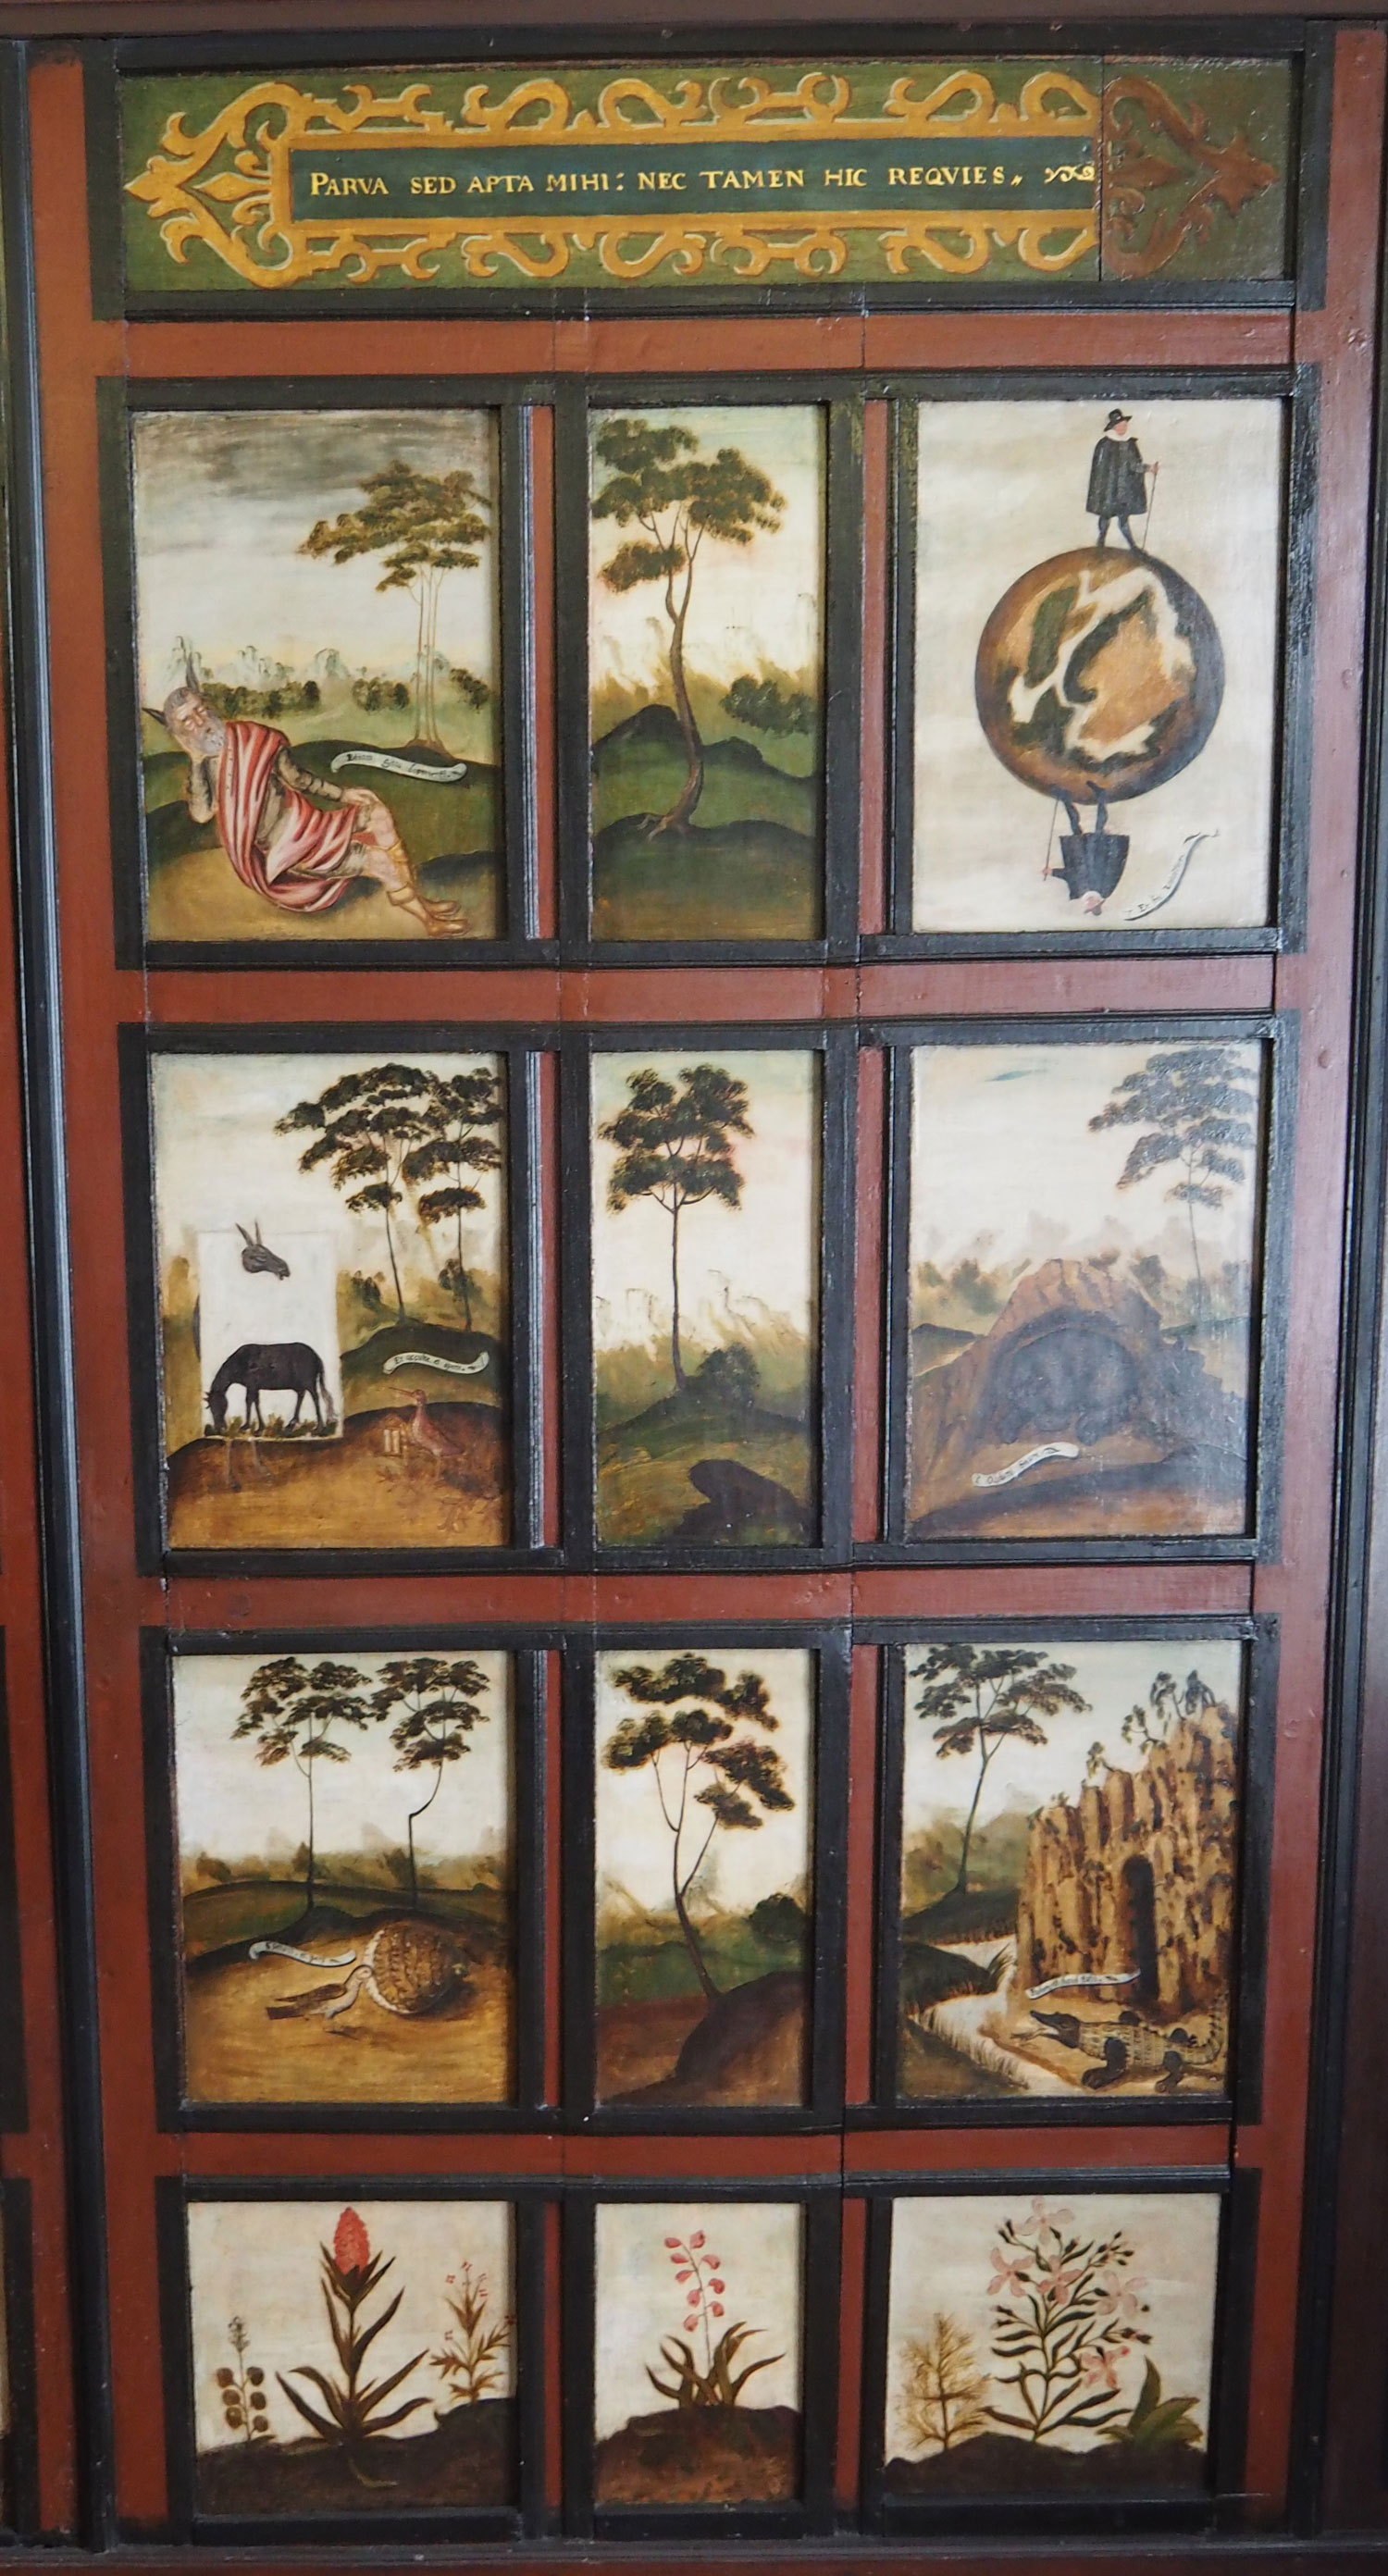
Hardwick House Lady Anne Drury's 'Painted Closet' This page shows part of the display at Christchurch Mansion Museum in Ipswich Page 1 shows a description by the Rev Sir John Cullum
|
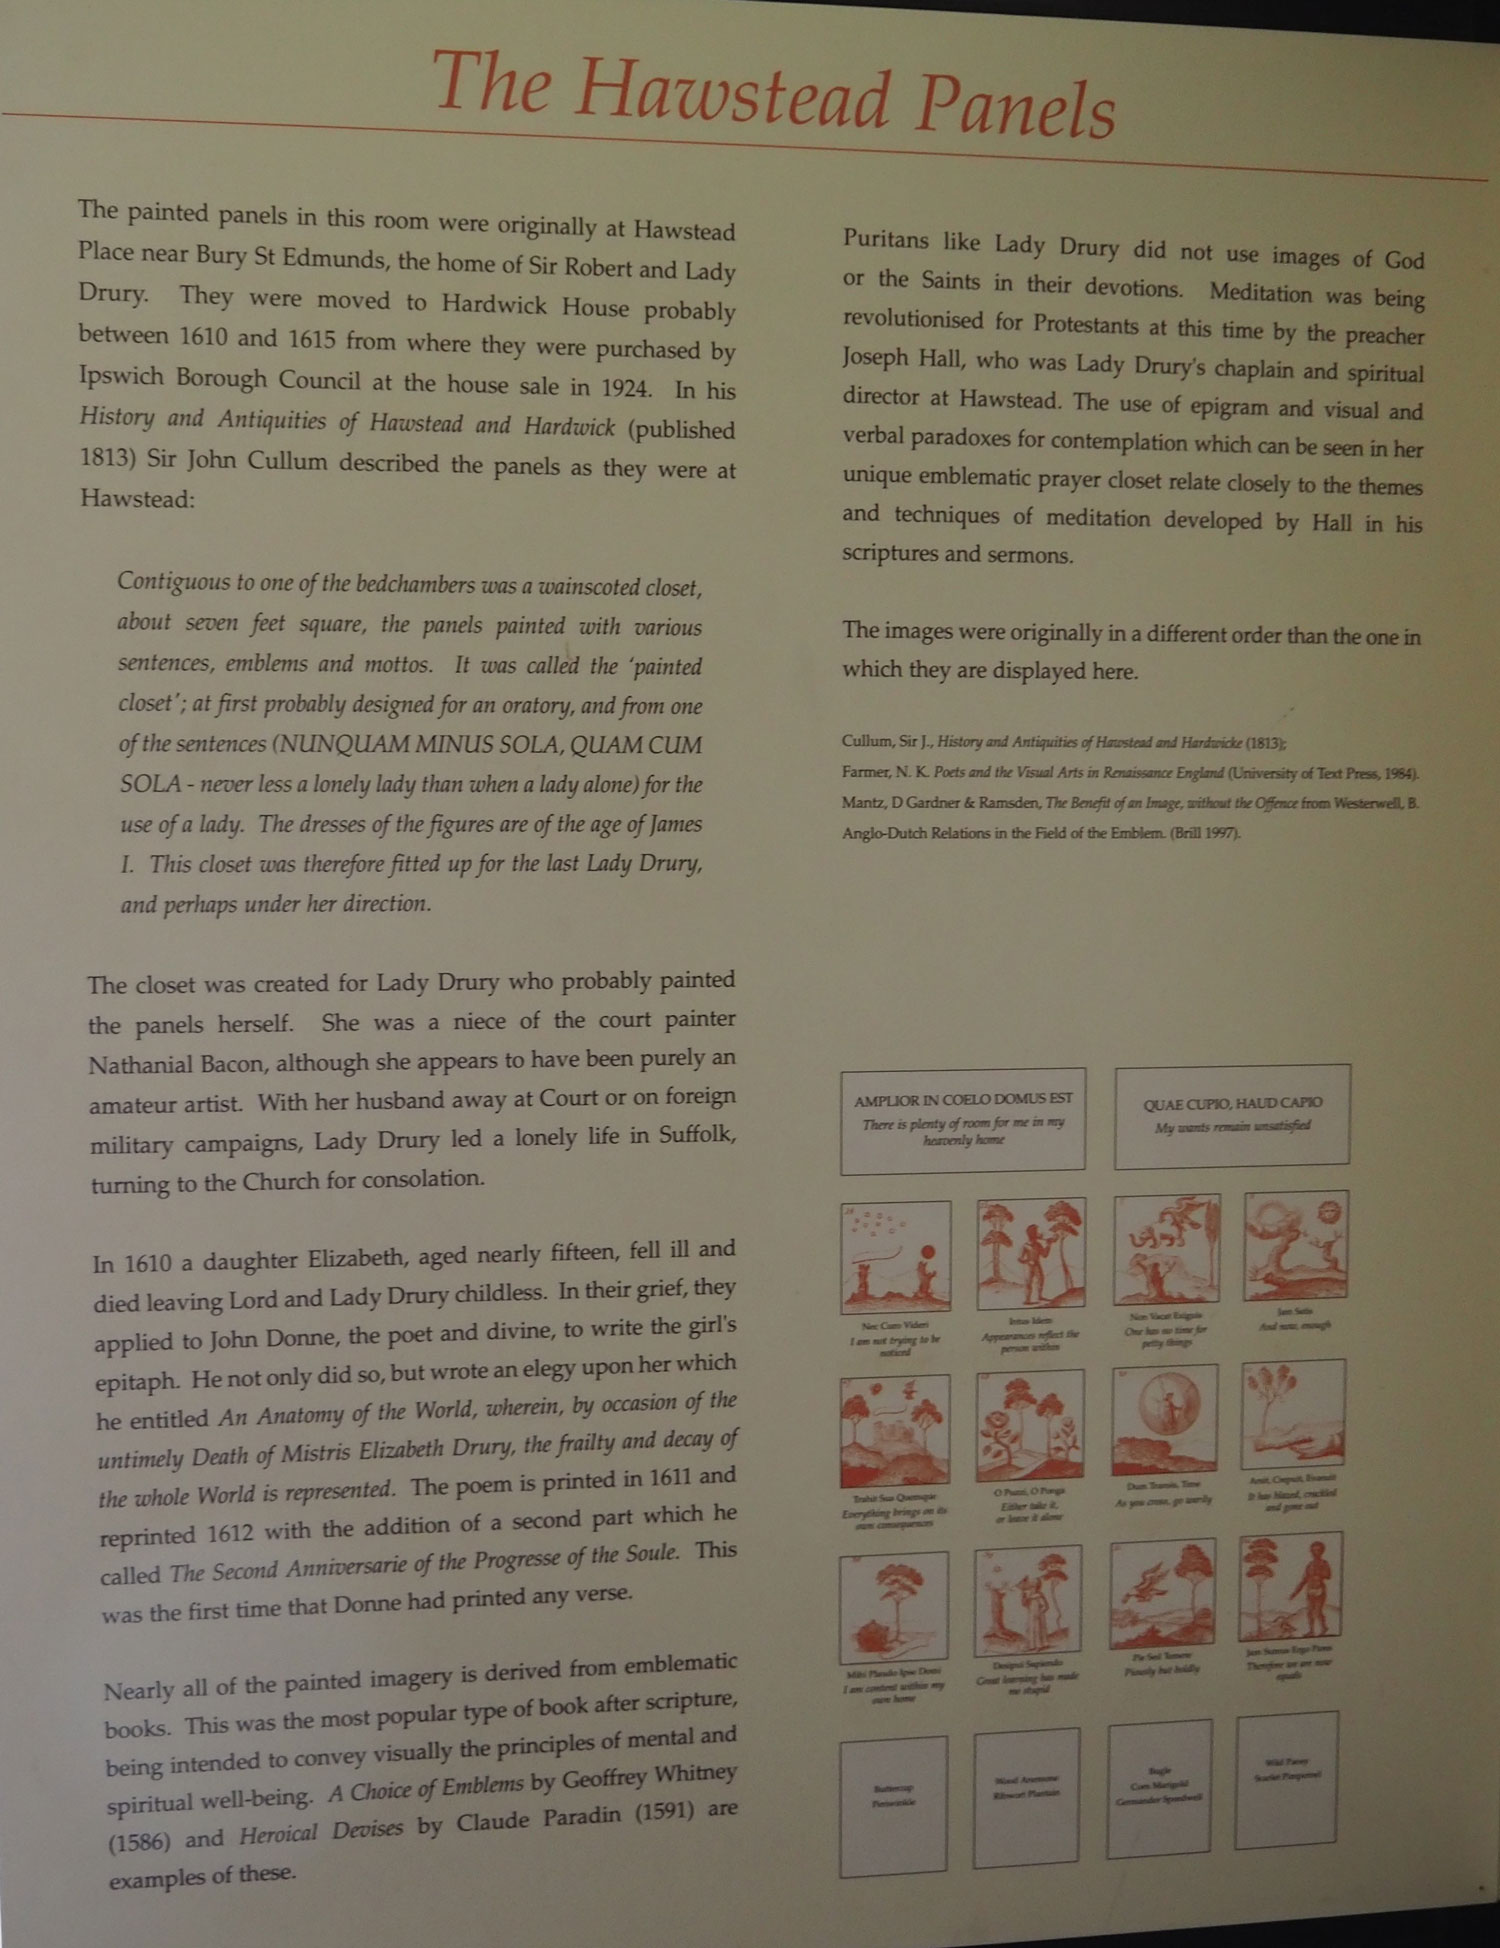 Christchurch Museum explanatory sign |
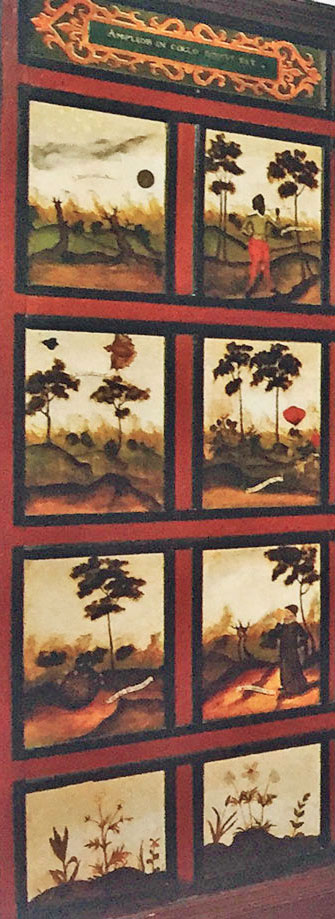
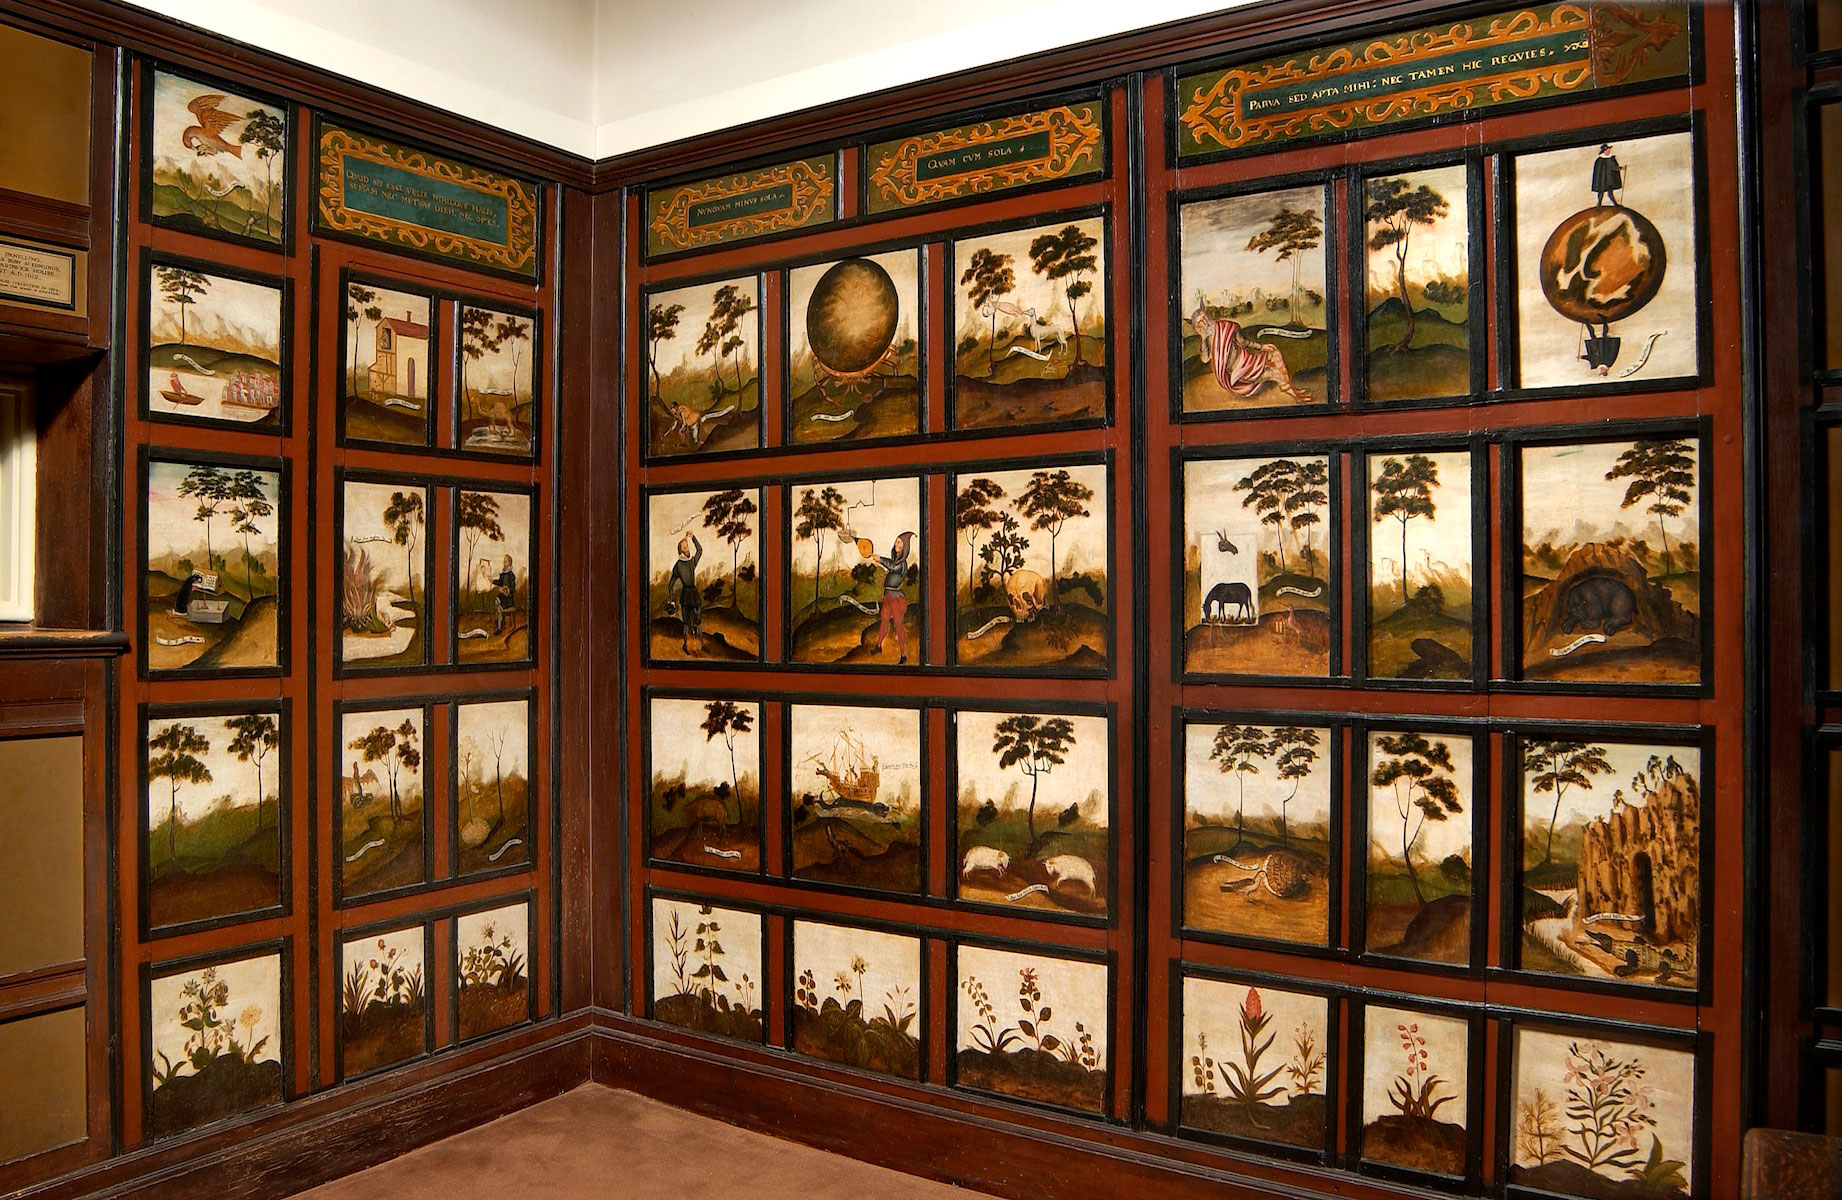 When seen together the viewer gets an idea of the power of these panels all in a small space. (Panels 1-3) |
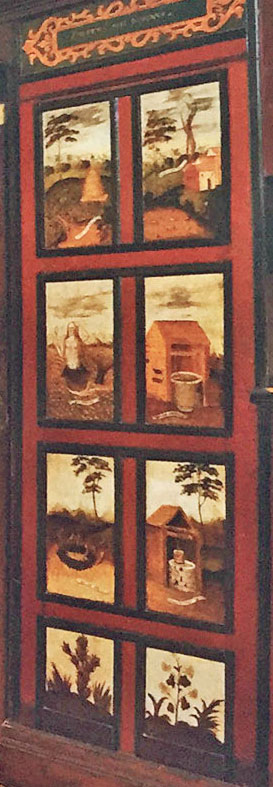
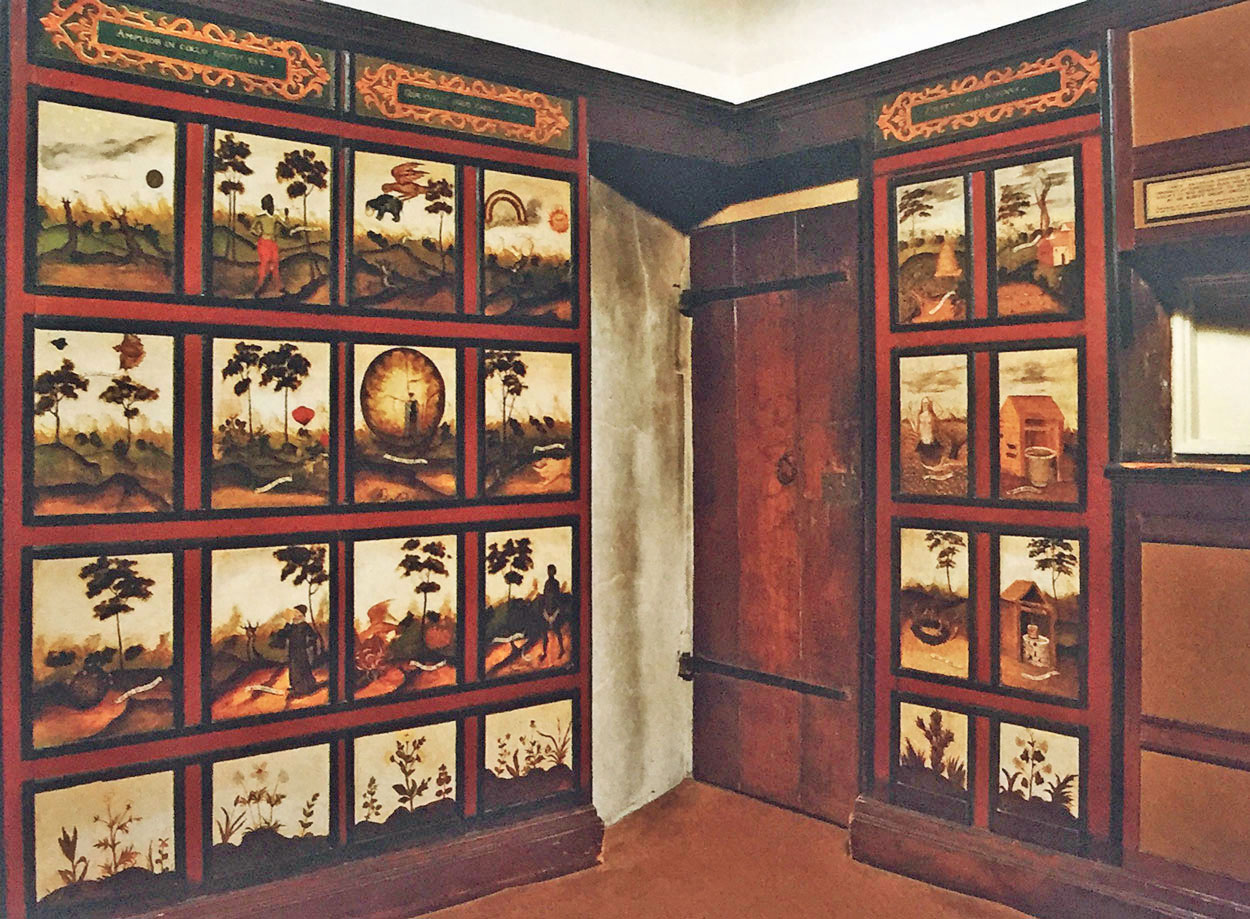 When seen together the viewer gets an idea of the power of these panels all in a small space. (Panels 4-6) |
 Ipswich first panel |
 Ipswich second panel |
 Ipswich third panel |
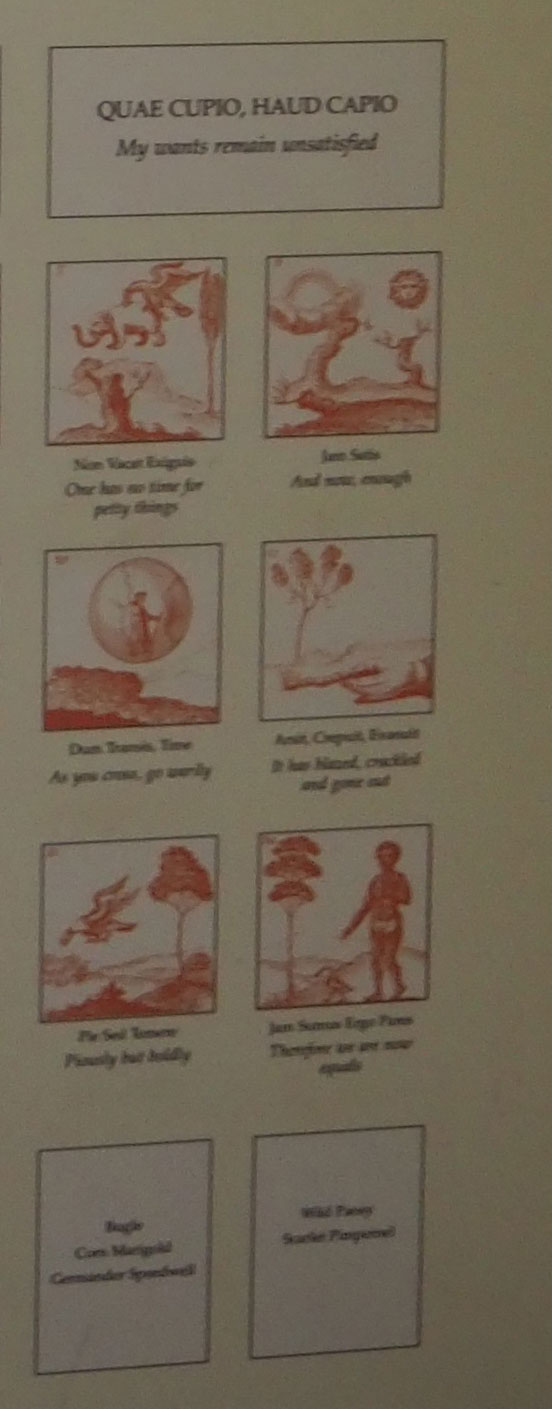
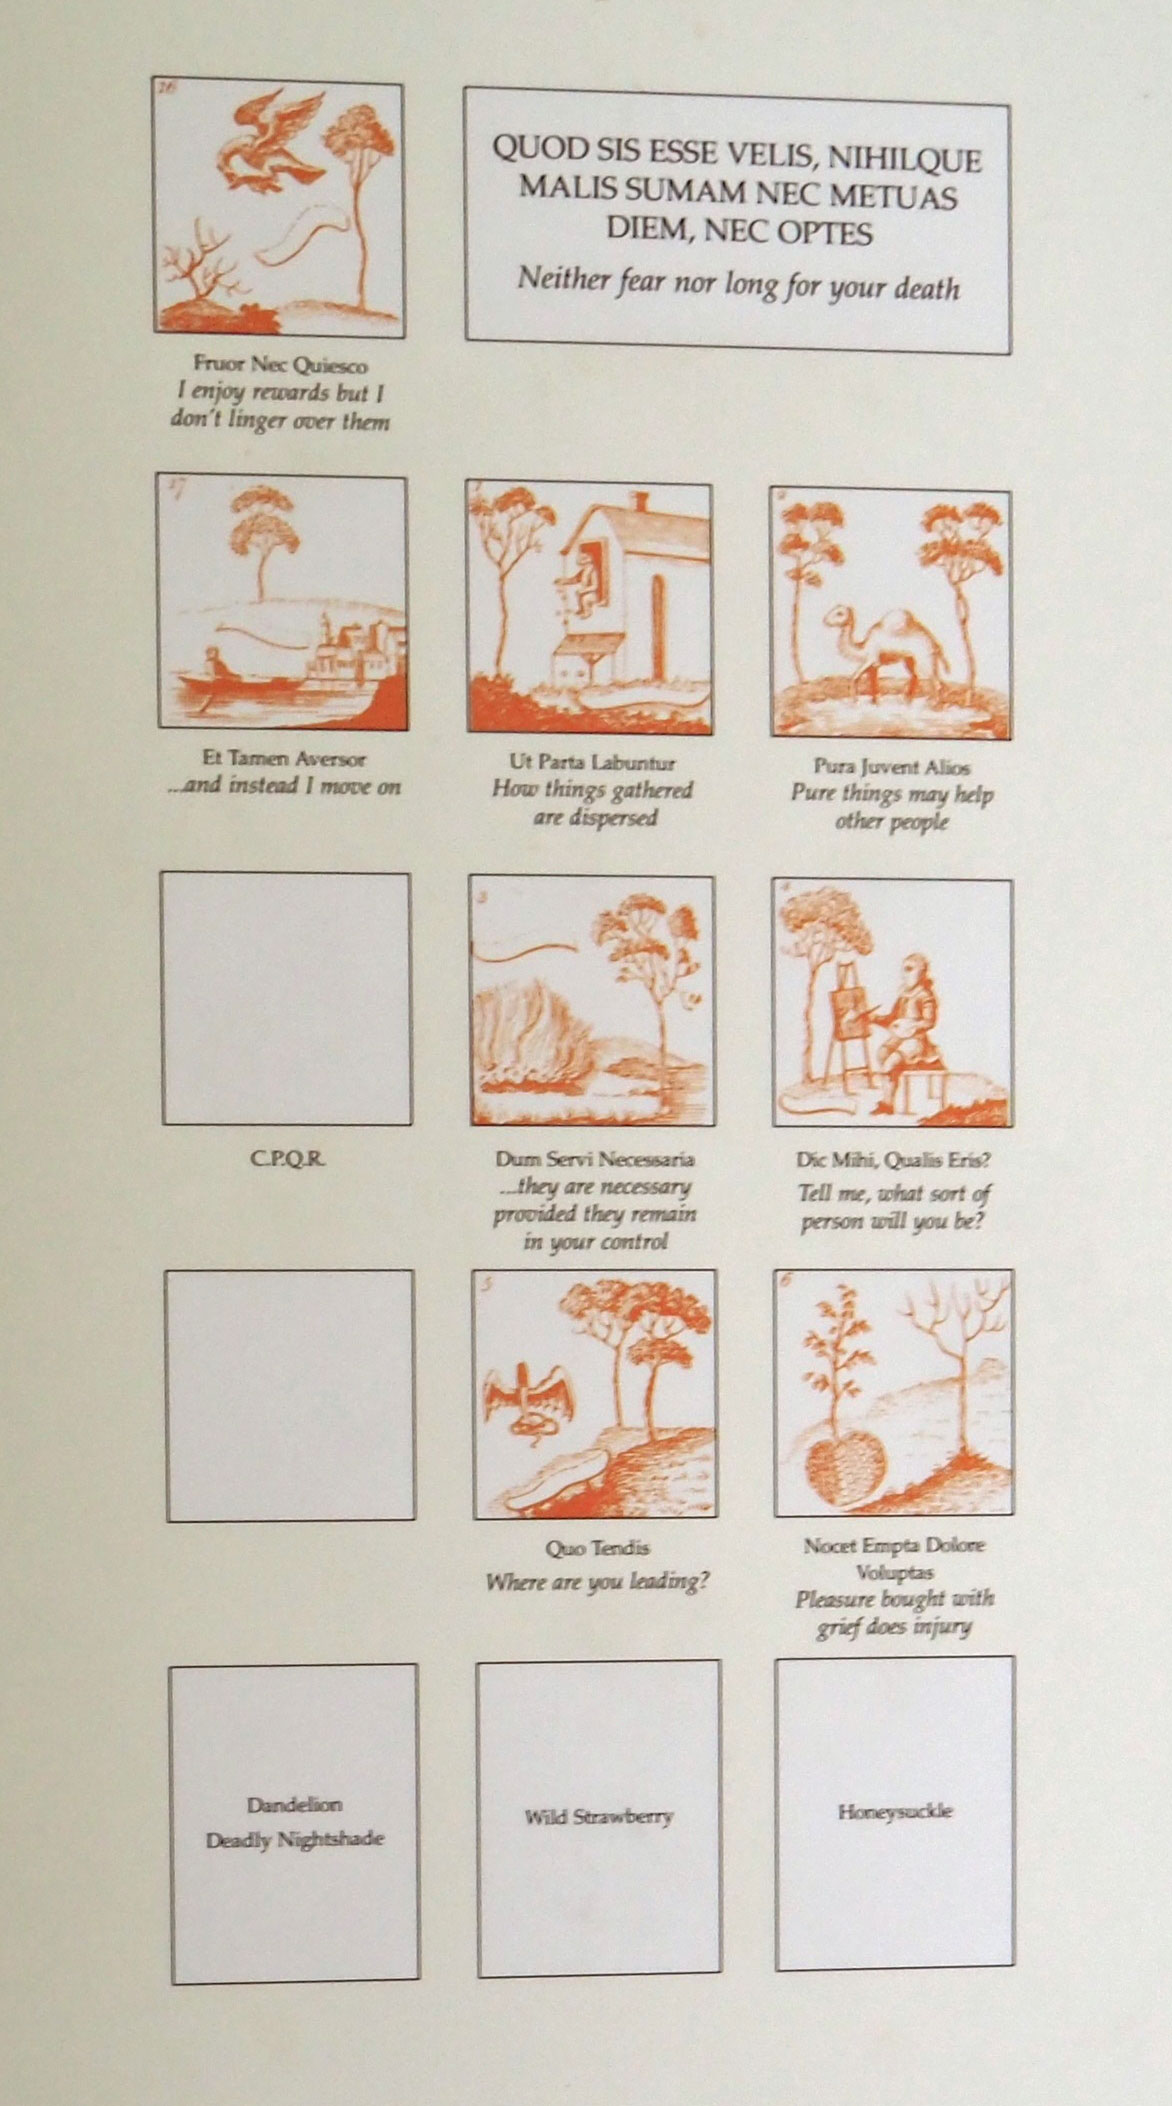 Christchurch Museum explanatory notes, panel 1 |
 Christchurch Museum explanatory notes, panel 2 |
 Christchurch Museum explanatory notes, panel 3 |
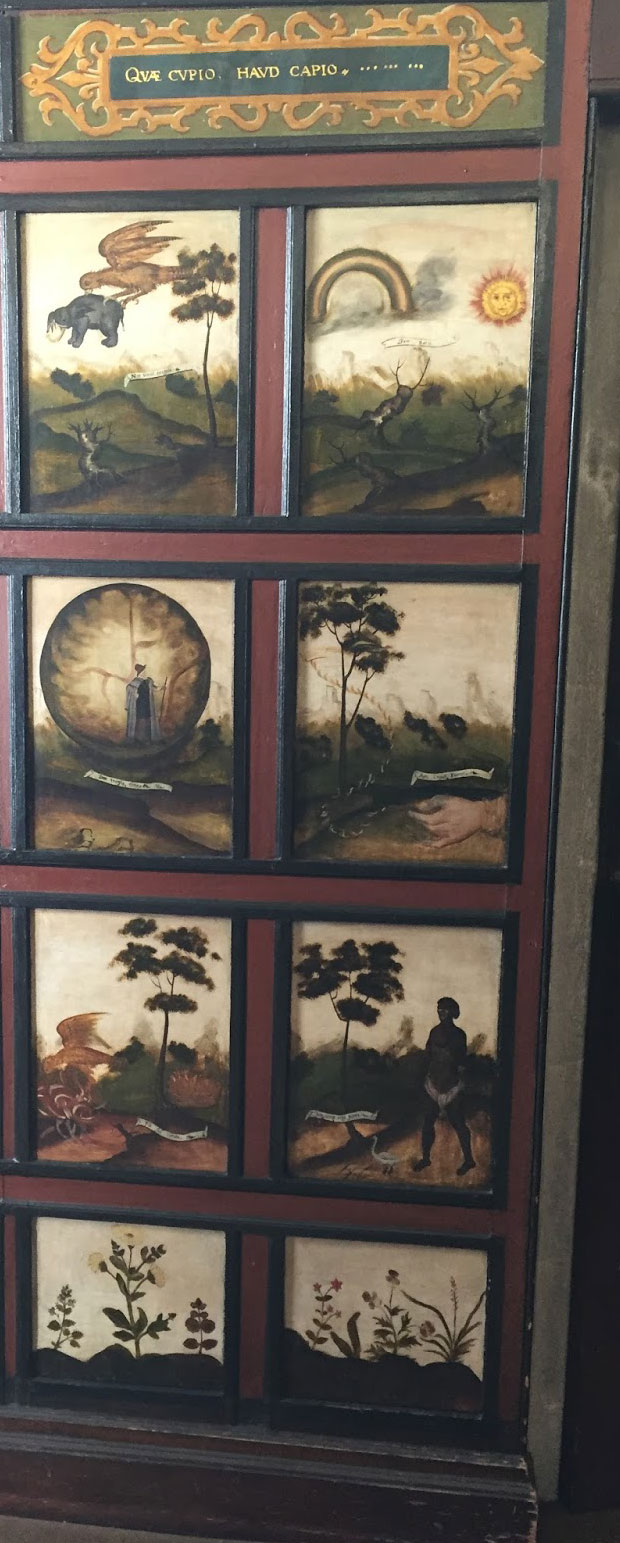 Ipswich fourth panel |
 Ipswich fifth panel |
 Ipswich sixth panel |
 Christchurch Museum explanatory notes, panel 4 |
 Christchurch Museum explanatory notes, panel 5 |
 Christchurch Museum explanatory notes, panel 6 |
Page: 1 2 |
| [ Prev ] [ Next ] |
|
The pictures shown here come from the Christchurch Mansion Museum in Ipswich. |
| Go to Hardwick Heath Homepage | Go to History of Hardwick, 1600 | This page created by David Addy on 9th February, 2022. Last updated 29th March, 2022 | Go to Main Home Page |